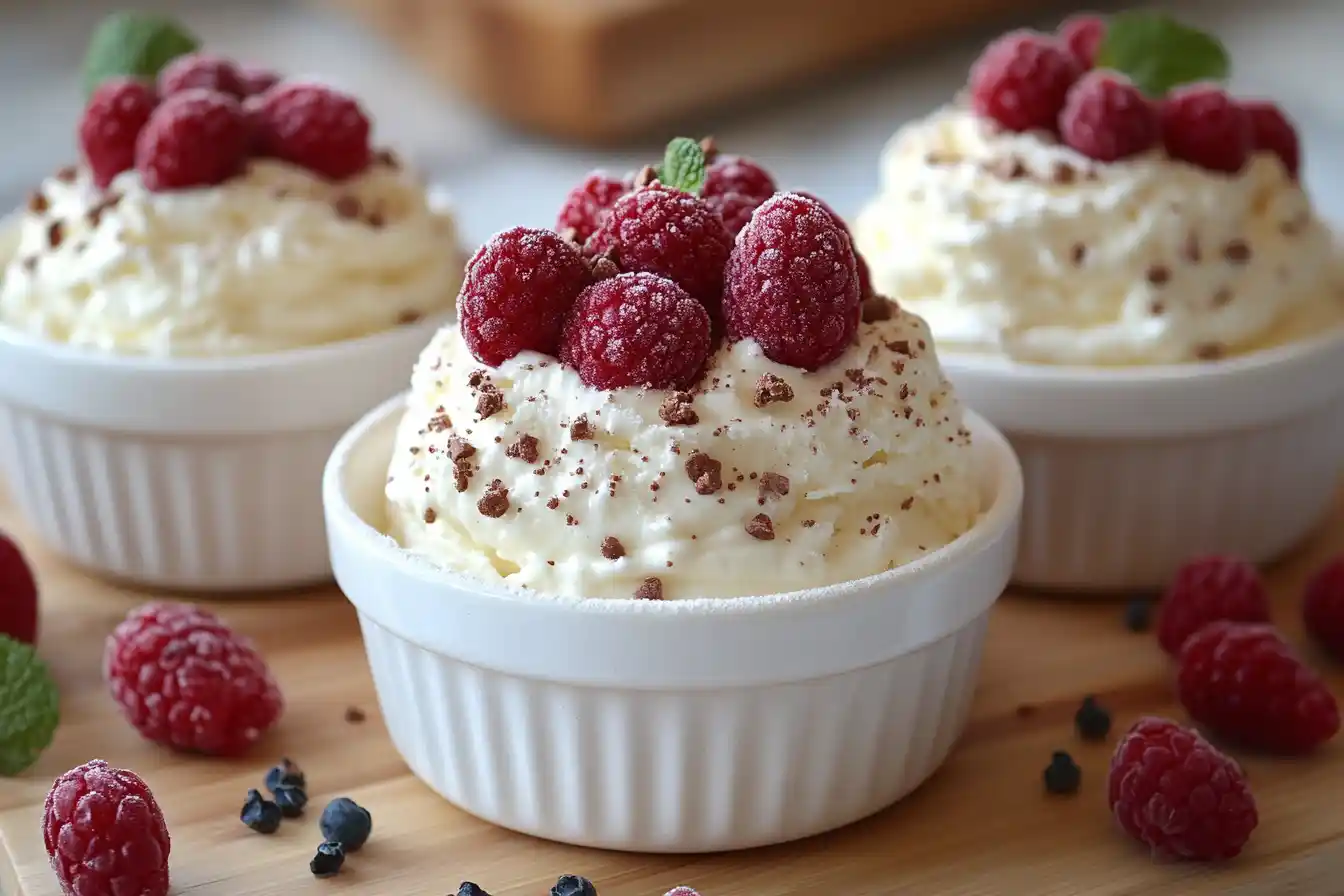
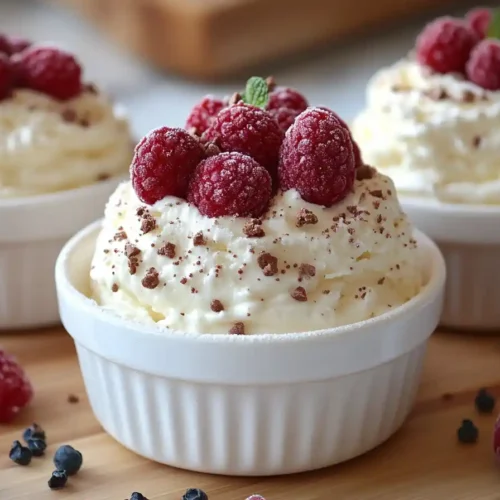
Did you know that vanilla is the most popular ice cream flavor in the world, yet many store-bought versions are packed with artificial flavors and preservatives? If you’ve ever dreamed of making your own creamy, dreamy vanilla ice cream at home, the Ninja Creami is here to make it a reality. This Ninja Creami vanilla ice cream recipe is not only easy to follow but also delivers a rich, velvety texture that rivals any gourmet scoop shop.
In this post, we’ll walk you through everything you need to know to create the perfect Ninja Creami vanilla ice cream recipe, from selecting the best ingredients to mastering the art of churning. Whether you’re a dessert enthusiast or a beginner in the kitchen, this guide will help you create a treat that’s sure to impress.
Ingredients List
Here’s what you’ll need to make this irresistible Ninja Creami vanilla ice cream recipe:
For the Ice Cream Base:
- 2 cups whole milk
- 1 cup heavy cream
- 3/4 cup granulated sugar
- 1 tablespoon pure vanilla extract (or 1 vanilla bean, scraped)
- A pinch of salt
Substitutions & Tips:
- Milk: Swap whole milk for almond milk, oat milk, or coconut milk for a dairy-free option.
- Sugar: Use honey, maple syrup, or a sugar substitute like stevia for a lower-calorie alternative.
- Vanilla: If using a vanilla bean, split it lengthwise and scrape out the seeds for an intense vanilla flavor.
- Add-Ins: Customize your ice cream with mix-ins like chocolate chips, crushed cookies, or fresh fruit.
Timing
One of the best things about this Ninja Creami vanilla ice cream recipe is how simple and time-efficient it is. Here’s a breakdown of the time required:
- Preparation Time: 10 minutes
- Freezing Time: 24 hours (for the base to set)
- Processing Time: 2 minutes
- Total Time: 24 hours 12 minutes
While the freezing time may seem long, the active prep time is just 10 minutes, making this 50% faster than traditional ice cream makers.
Step-by-Step Instructions
Step 1: Prepare the Ice Cream Base
- In a large mixing bowl, combine the milk, heavy cream, sugar, vanilla extract (or vanilla bean seeds), and salt.
- Whisk until the sugar is fully dissolved and the mixture is smooth.
*Step 2: Freeze the Base
- Pour the mixture into a Ninja Creami pint container, leaving about 1/2 inch of space at the top.
- Secure the lid and freeze for 24 hours to ensure the base is fully set.
Step 3: Process in the Ninja Creami
- Remove the pint from the freezer and let it sit at room temperature for 5 minutes.
- Place the pint in the Ninja Creami and select the “Ice Cream” function.
- Process for 2 minutes, or until the ice cream reaches your desired consistency.
Step 4: Add Mix-Ins (Optional)
- If you’re adding mix-ins like chocolate chips or cookie crumbs, use the “Mix-In” function for an additional 30 seconds.
- Serve immediately for a soft-serve texture, or freeze for an additional hour for a firmer consistency.
Nutritional Information
This Ninja Creami vanilla ice cream recipe is a treat you can feel good about. Here’s a nutritional breakdown per serving (based on 4 servings):
| Nutrient | Amount per Serving |
|---|---|
| Calories | 250 kcal |
| Fat | 16g |
| Carbohydrates | 24g |
| Protein | 4g |
| Sugar | 22g |
| Sodium | 50mg |
Healthier Alternatives for the Recipe
Want to make this Ninja Creami vanilla ice cream recipe even healthier? Try these swaps:
- Low-Fat Milk: Use skim milk or a plant-based alternative to reduce fat content.
- Sugar-Free Option: Replace granulated sugar with a sugar-free sweetener like erythritol.
- Greek Yogurt: Substitute half the heavy cream with Greek yogurt for added protein and a tangy twist.
- Fresh Fruit: Add pureed strawberries or bananas for natural sweetness and extra nutrients.
Serving Suggestions
Elevate your vanilla ice cream experience with these creative serving ideas:
- Classic Cone: Serve in a waffle cone with sprinkles for a nostalgic treat.
- Sundae Bar: Set up a DIY sundae bar with toppings like whipped cream, nuts, and caramel sauce.
- Affogato: Pour a shot of hot espresso over a scoop of vanilla ice cream for a sophisticated dessert.
- Ice Cream Sandwiches: Sandwich a scoop between two cookies for a handheld delight.
Common Mistakes to Avoid
To ensure your Ninja Creami vanilla ice cream recipe turns out perfectly, avoid these common pitfalls:
- Overfilling the Pint: Leave space at the top to allow for expansion during freezing.
- Skipping the Freezing Time: Ensure the base is fully frozen for the best texture.
- Overprocessing: Stick to the recommended processing time to avoid a grainy texture.
- Using Cold Mix-Ins: Let mix-ins like chocolate chips come to room temperature before adding.
Storing Tips for the Recipe
To keep your homemade ice cream fresh and delicious:
- Freezing: Store in an airtight container in the freezer for up to 2 weeks.
- Softening: Let the ice cream sit at room temperature for 5-10 minutes before serving if it’s too hard.
- Layering: If storing multiple flavors, place parchment paper between layers to prevent mixing.
Conclusion
This Ninja Creami vanilla ice cream recipe is the perfect way to enjoy a creamy, dreamy treat that’s customizable and easy to make. Whether you’re craving a classic scoop or a creative dessert, the Ninja Creami has you covered.
Call-to-Action: Ready to try this recipe? Share your creations in the comments below, and don’t forget to subscribe for more delicious ideas and kitchen tips!
FAQs
1. Can I make dairy-free ice cream with the Ninja Creami?
Absolutely! Simply swap the dairy ingredients for your favorite plant-based alternatives.
2. How do I clean the Ninja Creami?
The pint containers and lid are dishwasher-safe, while the base can be wiped clean with a damp cloth.
3. Can I make sorbet with the Ninja Creami?
Yes, the Ninja Creami is perfect for making sorbet. Just use fruit puree and a sweetener of your choice.
4. How long does the ice cream stay fresh?
When stored properly, homemade ice cream can last up to 2 weeks in the freezer.
5. Can I double the recipe?
The Ninja Creami pint containers are designed for single batches, so it’s best to make one flavor at a time.
Ninja Creami vanilla ice cream recipe
Ingredients
For the Ice Cream Base:
- 2 cups whole milk
- 1 cup heavy cream
- 3/4 cup granulated sugar
- 1 tablespoon pure vanilla extract or 1 vanilla bean, scraped
- A pinch of salt
Substitutions & Tips:
- Milk: Swap whole milk for almond milk oat milk, or coconut milk for a dairy-free option.
- Sugar: Use honey maple syrup, or a sugar substitute like stevia for a lower-calorie alternative.
- Vanilla: If using a vanilla bean split it lengthwise and scrape out the seeds for an intense vanilla flavor.
- Add-Ins: Customize your ice cream with mix-ins like chocolate chips crushed cookies, or fresh fruit.
Instructions
Step 1: Prepare the Ice Cream Base
- In a large mixing bowl, combine the milk, heavy cream, sugar, vanilla extract (or vanilla bean seeds), and salt.
- Whisk until the sugar is fully dissolved and the mixture is smooth.
*Step 2: Freeze the Base
- Pour the mixture into a Ninja Creami pint container, leaving about 1/2 inch of space at the top.
- Secure the lid and freeze for 24 hours to ensure the base is fully set.
Step 3: Process in the Ninja Creami
- Remove the pint from the freezer and let it sit at room temperature for 5 minutes.
- Place the pint in the Ninja Creami and select the “Ice Cream” function.
- Process for 2 minutes, or until the ice cream reaches your desired consistency.
Step 4: Add Mix-Ins (Optional)
- If you’re adding mix-ins like chocolate chips or cookie crumbs, use the “Mix-In” function for an additional 30 seconds.
- Serve immediately for a soft-serve texture, or freeze for an additional hour for a firmer consistency.
Notes
- For a lower sugar option, use a sugar substitute like monk fruit or stevia.
- Customize by adding mix-ins like chocolate chips, fruit, or cookie pieces after the first spin.