Did you know that sourdough bread has been around for over 5,000 years, making it one of the oldest forms of leavened bread? Yet, despite its ancient origins, many people are intimidated by the idea of making their own sourdough starter. What if we told you that creating a sourdough starter recipe at home is simpler than you think and requires just two ingredients?
In this post, we’ll guide you through everything you need to know to create a thriving sourdough starter from scratch. From the ingredients to step-by-step instructions, troubleshooting tips, and even healthier alternatives, this guide is your ultimate resource for mastering the art of sourdough. Let’s get started!
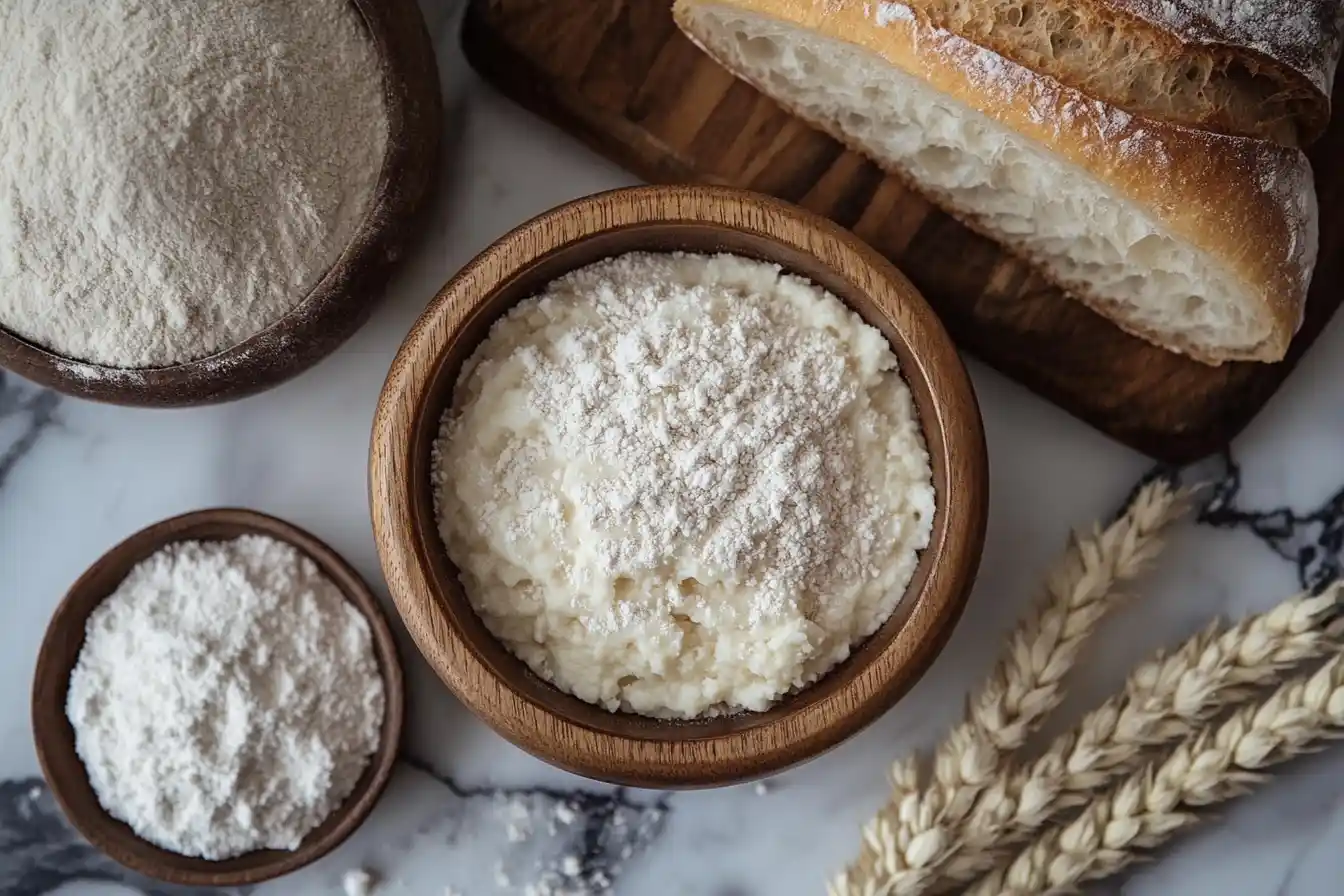
Ingredients List
The beauty of this sourdough starter recipe lies in its simplicity. With just two ingredients, you can create a living culture that will transform your bread-making game. Here’s what you’ll need:
- 1 cup of whole wheat flour (or all-purpose flour, but whole wheat works best for initial fermentation)
- 1 cup of filtered water (chlorine-free to avoid killing the natural yeast)
Optional Additions:
- A handful of organic grapes or apple slices (to introduce natural yeast)
- A pinch of sugar (to kickstart fermentation)
Timing
Creating a sourdough starter is a labor of love that requires patience. Here’s the breakdown:
- Preparation Time: 10 minutes per day
- Fermentation Time: 5-7 days (depending on environmental conditions)
- Total Time: 5-7 days
While it takes a few days to develop, the active time is minimal, making it a rewarding project for even the busiest bakers.
Step-by-Step Instructions
Step 1: Day 1 – Mix the Ingredients
In a clean glass jar or container, combine 1 cup of whole wheat flour and 1 cup of filtered water. Stir until well combined, ensuring there are no dry pockets of flour. Cover the jar loosely with a lid or cloth to allow airflow.
Step 2: Days 2-3 – Feed the Starter
After 24 hours, discard half of the mixture (about 1/2 cup) and add 1/2 cup of whole wheat flour and 1/2 cup of filtered water. Stir well and cover. Repeat this process every 24 hours.
Step 3: Days 4-5 – Watch for Activity
By now, you should start to see bubbles forming and notice a slightly tangy smell. Continue feeding the starter daily, discarding half and adding fresh flour and water.
Step 4: Days 6-7 – Test the Starter
Your starter is ready when it doubles in size within 4-6 hours after feeding and has a pleasant, slightly sour aroma. To test, drop a small spoonful into a glass of water—if it floats, it’s ready to use!
Nutritional Information
While the sourdough starter itself isn’t consumed directly, it plays a crucial role in making nutrient-rich sourdough bread. Here’s a quick look at the benefits:
- Probiotics: Supports gut health through natural fermentation.
- Lower Gluten: Easier to digest than conventional bread.
- Enhanced Nutrients: Increases the bioavailability of vitamins and minerals.
Healthier Alternatives for the Recipe
If you’re looking to make your sourdough starter even healthier, try these tips:
- Use organic flour to avoid pesticides and chemicals.
- Experiment with rye flour for a more robust flavor and faster fermentation.
- Add a handful of organic grapes or apple slices to introduce natural yeast and speed up the process.
Serving Suggestions
Once your sourdough starter is ready, the possibilities are endless. Here are some ideas:
- Bake a classic sourdough loaf for sandwiches or toast.
- Use the starter to make sourdough pancakes or waffles for breakfast.
- Create sourdough pizza dough for a fun family dinner.
Common Mistakes to Avoid
- Using chlorinated water: Chlorine can kill the natural yeast. Always use filtered or bottled water.
- Skipping the discard step: Discarding half of the starter ensures the right balance of yeast and bacteria.
- Not feeding consistently: Regular feeding is essential to keep the starter active and healthy.
Storing Tips for the Recipe
- At Room Temperature: Feed your starter daily if kept on the counter.
- In the Fridge: Store in the fridge and feed once a week for long-term maintenance.
- Freezing: For extended storage, freeze a portion of the starter in an airtight container. Thaw and feed to revive.
Conclusion
Creating your own sourdough starter recipe is a simple yet rewarding process that opens the door to endless baking possibilities. With just flour and water, you can cultivate a living culture that will transform your homemade bread.
Ready to get started? Follow this guide and share your sourdough journey in the comments below. Don’t forget to subscribe for more baking tips and recipes!
FAQs
1. Can I use all-purpose flour instead of whole wheat flour?
Yes, but whole wheat flour works best initially due to its higher nutrient content, which speeds up fermentation.
2. How do I know if my starter has gone bad?
A bad starter will have a strong, unpleasant odor (like rotten eggs) and may develop mold. Discard and start over if this happens.
3. Can I use tap water for my starter?
Only if it’s chlorine-free. Otherwise, use filtered or bottled water.
4. How often should I feed my starter?
Feed daily if kept at room temperature, or weekly if stored in the fridge.
5. Can I use my starter right after it floats?
Yes, a floating starter is ready to use! It indicates active fermentation and is perfect for baking.
By following this sourdough starter recipe, you’ll be able to create a living culture that brings your homemade bread to life. Happy baking!