Did you know that Rice Krispie Treats were invented in 1939 by Mildred Day, a home economist for Kellogg’s, as a fundraiser for the Camp Fire Girls? Since then, this iconic snack has become a beloved treat for kids and adults alike. If you’re looking for a quick, easy, and delicious dessert that requires no baking, this Rice Krispie Treat recipe is your go-to solution.
In this post, we’ll walk you through everything you need to know to create the perfect Rice Krispie Treats. From the ingredients to step-by-step instructions, nutritional information, and even healthier alternatives, this guide is your ultimate resource for mastering this classic snack. Let’s get started!
Ingredients List
The beauty of this Rice Krispie Treat recipe lies in its simplicity. With just a handful of ingredients, you can create a snack that’s both sweet and satisfying. Here’s what you’ll need:
- 6 cups of Rice Krispies cereal (the star of the show)
- 4 tablespoons of unsalted butter (for richness)
- 1 package (10 oz) of marshmallows (mini or regular)
- 1 teaspoon of vanilla extract (optional, for added flavor)
- A pinch of salt (enhances the sweetness)
Substitutions:
- Swap butter with coconut oil for a dairy-free version.
- Use vegan marshmallows to make the recipe plant-based.
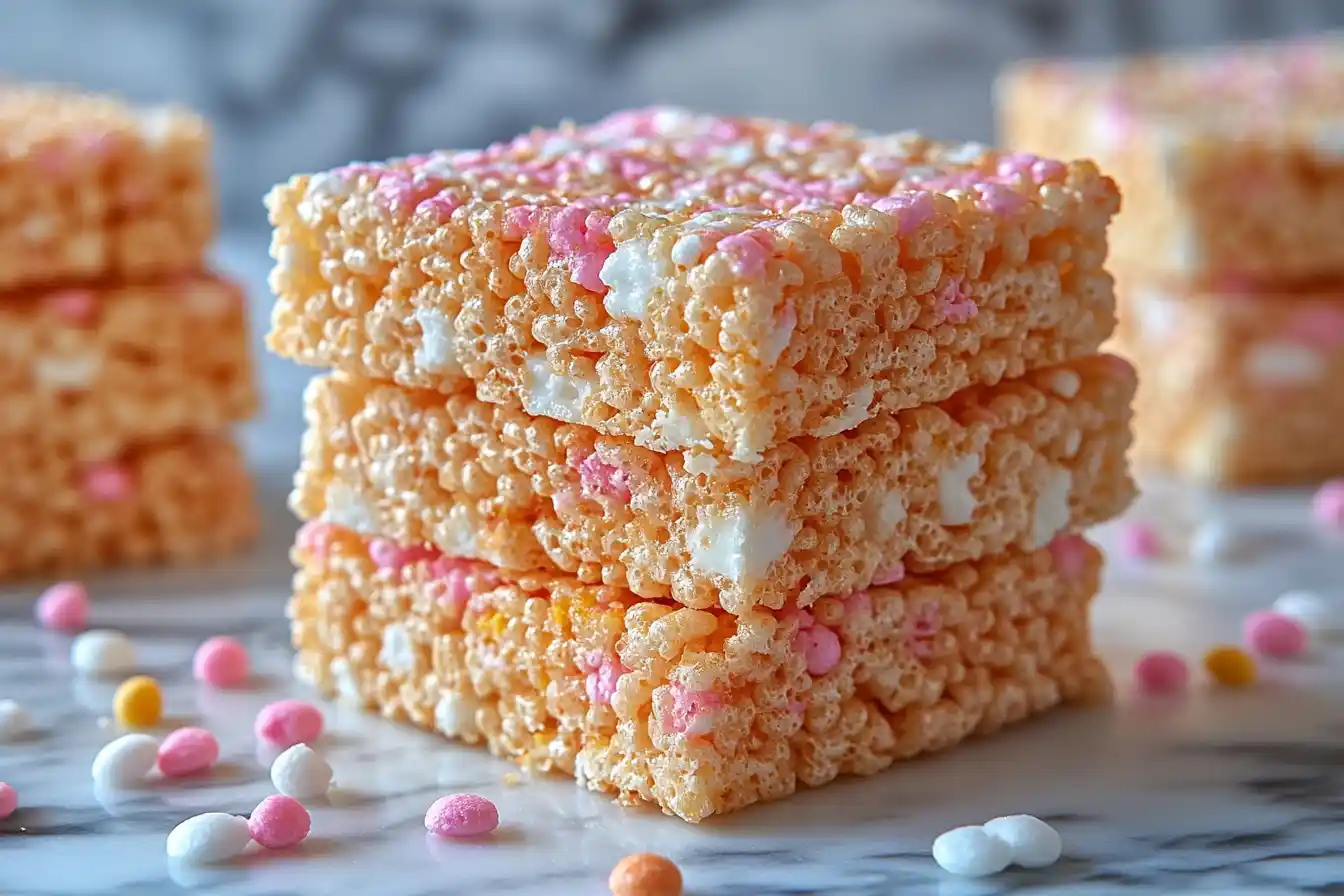
- Add mix-ins like chocolate chips, sprinkles, or nuts for extra texture and flavor.
Timing
One of the best things about this Rice Krispie Treat recipe is how quick and easy it is to make. Here’s the breakdown:
- Preparation Time: 10 minutes
- Cooking Time: 5 minutes
- Total Time: 15 minutes
In just 15 minutes, you can create a snack that’s perfect for parties, lunchboxes, or a quick sweet fix.
Step-by-Step Instructions
Step 1: Prepare Your Pan
Grease a 9×13-inch baking dish with butter or line it with parchment paper. This will prevent the treats from sticking and make them easier to remove.
Step 2: Melt the Butter
In a large pot, melt the butter over low heat. Be careful not to let it brown, as this can alter the flavor.
Step 3: Add the Marshmallows
Once the butter is melted, add the marshmallows and stir continuously until they are completely melted and smooth. This should take about 3-4 minutes.
Step 4: Mix in the Cereal
Remove the pot from the heat and stir in the vanilla extract and a pinch of salt. Then, add the Rice Krispies cereal and mix until the cereal is evenly coated with the marshmallow mixture.
Step 5: Press and Cool
Transfer the mixture to the prepared baking dish. Use a greased spatula or your hands (lightly greased with butter) to press the mixture evenly into the pan. Let it cool for at least 30 minutes before cutting into squares.
Nutritional Information
While Rice Krispie Treats are undeniably delicious, it’s good to know what you’re consuming. Here’s the nutritional breakdown for one serving (based on 12 servings):
- Calories: 150
- Fat: 4g
- Carbohydrates: 28g
- Sugars: 15g
- Protein: 1g
This snack is relatively low in calories compared to other desserts, making it a lighter option for those watching their intake.
Healthier Alternatives for the Recipe
If you’re looking to make this Rice Krispie Treat recipe a bit healthier, try these swaps:
- Use brown rice cereal instead of traditional Rice Krispies for added fiber.
- Swap marshmallows with homemade marshmallow fluff made with honey or maple syrup.
- Add dried fruit or seeds for a nutrient boost without compromising on flavor.
Serving Suggestions
These Rice Krispie Treats are incredibly versatile and can be served in various ways to suit different occasions:
- Serve them at a birthday party with a side of ice cream.
- Pack them in lunchboxes for a sweet midday treat.
- Drizzle melted chocolate or caramel over the top for an extra indulgent dessert.
Common Mistakes to Avoid
- Overheating the marshmallows: This can cause them to become tough and chewy. Melt them slowly over low heat.
- Not greasing the pan: This can make it difficult to remove the treats without breaking them.
- Using stale cereal: Fresh Rice Krispies ensure the best texture and flavor.
Storing Tips for the Recipe
- Store leftovers in an airtight container at room temperature for up to 3 days.
- For longer storage, wrap individual squares in plastic wrap and freeze for up to 2 months.
- Avoid refrigerating, as it can make the treats hard and less enjoyable.
Conclusion
The Rice Krispie Treat recipe is a timeless classic that’s perfect for any occasion. With its sweet, chewy texture and endless customization options, this snack is sure to be a hit with everyone.
Ready to give it a try? Whip up a batch today and share your creations in the comments below. Don’t forget to subscribe for more delicious snack ideas!
FAQs
1. Can I make this recipe without butter?
Yes, you can use coconut oil or margarine as a substitute for butter.
2. How do I make vegan Rice Krispie Treats?
Use vegan marshmallows and a plant-based butter substitute.
3. Can I add chocolate to this recipe?
Absolutely! Stir in chocolate chips or drizzle melted chocolate over the top for a decadent twist.
4. How do I prevent the treats from becoming too hard?
Avoid overcooking the marshmallows and store the treats in an airtight container to maintain their softness.
5. Can I double the recipe?
Yes, simply double the ingredients and use a larger baking dish to accommodate the mixture.
By following this Rice Krispie Treat recipe, you’ll be able to create a snack that’s as fun to make as it is to eat. Enjoy!









Leave a Reply